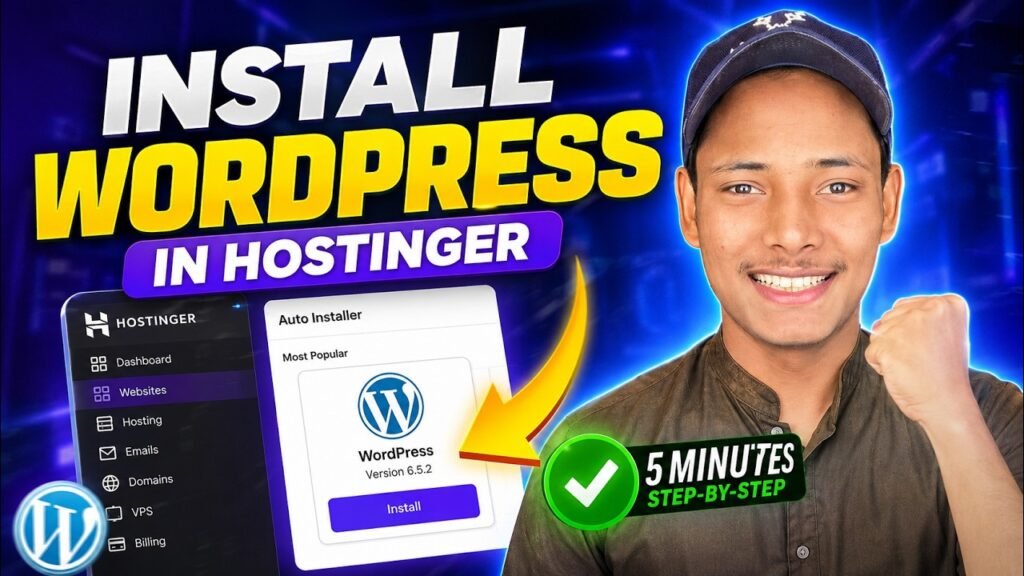
Building your digital foundation should not take hours of confusing technical configurations, especially when you learn how to setup WordPress on Hostinger the smart way. In the early days of web development, launching a site meant manually downloading core files, creating SQL databases, and uploading everything through complex FTP clients.
Today, premium hosting platforms have completely revolutionized this process. If you want to launch a blog, a portfolio, or a fully functional eCommerce store, you do not need to hire an expensive developer. In this comprehensive, step-by-step guide, we will break down exactly how to setup WordPress on Hostinger in just under four minutes using their powerful automated systems.
The Advantage of Automated Installation
When people ask how to setup WordPress on Hostinger, they often expect a complicated process involving coding and database management. Fortunately, modern server panels eliminate all of that technical friction.
Hostinger features a proprietary “Auto Installer” tool. This specific tool bypasses the need for manual file transfers. It automatically creates the necessary databases, links them securely to your domain name, and installs the latest version of the CMS software in the background. It turns a highly technical procedure into a simple, click-and-deploy experience.
Accessing Your Domain Dashboard
The very first phase of understanding how to setup WordPress on Hostinger begins right inside your main dashboard. Once you log into your hosting account, you will be greeted by the primary control panel.
Navigating to Domain Management
Look at the top navigation bar and click on the “Domains” section. Here, you will see a list of all the web addresses you have currently purchased or claimed.
Find the specific domain where you want to install your new website. Right next to it, you will see two buttons: “Renew” and “Manage.” Click on the “Manage” button.
Opening the Site Settings
After clicking manage, scroll down slightly until you see an option labeled “Manage Your Website” or “Manage Site.” Clicking this will take you to the dedicated server dashboard for that specific domain name, opening up all the technical tools you need for the next step.
Launching the Auto Installer Process
Moving forward with how to setup WordPress on Hostinger, you need to locate the automated software wizard. In the left-hand sidebar (or at the top of your site dashboard), you will find a highly responsive search bar.
Instead of scrolling through dozens of technical options, simply type the word “Auto” into the search bar. The system will instantly highlight the “Auto Installer” tool. Click on it. You will be presented with a menu featuring various Content Management Systems, including WooCommerce and Joomla. Click the “Select” button directly under the WordPress logo.
Configuring Your Administrator Details
This is arguably the most critical step in learning how to setup WordPress on Hostinger securely. A popup window will appear, asking you to fill out your core website credentials. You must fill these out carefully.
Website Title and Admin Email
First, enter your Website Title. This can be your brand name or personal name (you can always change this later in your settings).
Next, enter your Administrator Email. This must be an active, working email address. If your site ever experiences an issue, or if you forget your login details, this email is your only way to recover your account and reset your passwords.
Setting Strong Credentials
Below the email field, you will need to create an Administrator Username and an Administrator Password. These are the details you will use every single day to log into your website’s backend editor.
Do not use simple passwords like “123456” or “admin,” as these are highly vulnerable to hacking attempts. Create a strong, unique password and write it down in a secure place. Once you have filled out these boxes, click the “Next” button.
Finalizing the Installation
After hitting next, you might see an advanced settings page asking about database overwrites or update schedules. As a beginner, you can simply ignore these advanced options and leave them on their default settings.
Click the “Install” button. The system might prompt you to “Overwrite” existing files—simply agree to proceed. At this point, the server will take over. It usually takes between one to two minutes for the installation to fully complete. Do not close the window while the loading bar is active.
Logging Into Your Backend Dashboard
Now that you have completed the core steps of how to setup WordPress on Hostinger, it is time to access your site. There are two primary ways to access your new backend editor.
The Hostinger Panel Method
Once the installation finishes, your Hostinger dashboard will refresh and display a new WordPress management screen. You can simply click the “Edit Website” or “Admin Panel” button directly from this screen, and it will auto-log you into your site.
The Direct URL Method
The more professional way to log in is by using your direct URL. Open a brand new tab in your browser and type in your complete website address followed by /wp-admin.
For example, it should look exactly like this: [yourdomain.com/wp-admin](https://yourdomain.com/wp-admin). When you press enter, you will see the official WordPress login screen. Enter the Username and Password you created earlier. Click “Log In,” and you will be instantly taken to your fully functional website dashboard.
Final Thoughts on Your New Website
Congratulations! You have successfully bypassed the need for expensive web developers. You now have a blank digital canvas ready for your creative ideas.
Mastering how to setup WordPress on Hostinger gives you complete control over your web presence. From your new dashboard, you can install premium themes, add powerful plugins, and start publishing articles or uploading products. Keep your login credentials safe, explore the settings, and start building your ultimate online business today.